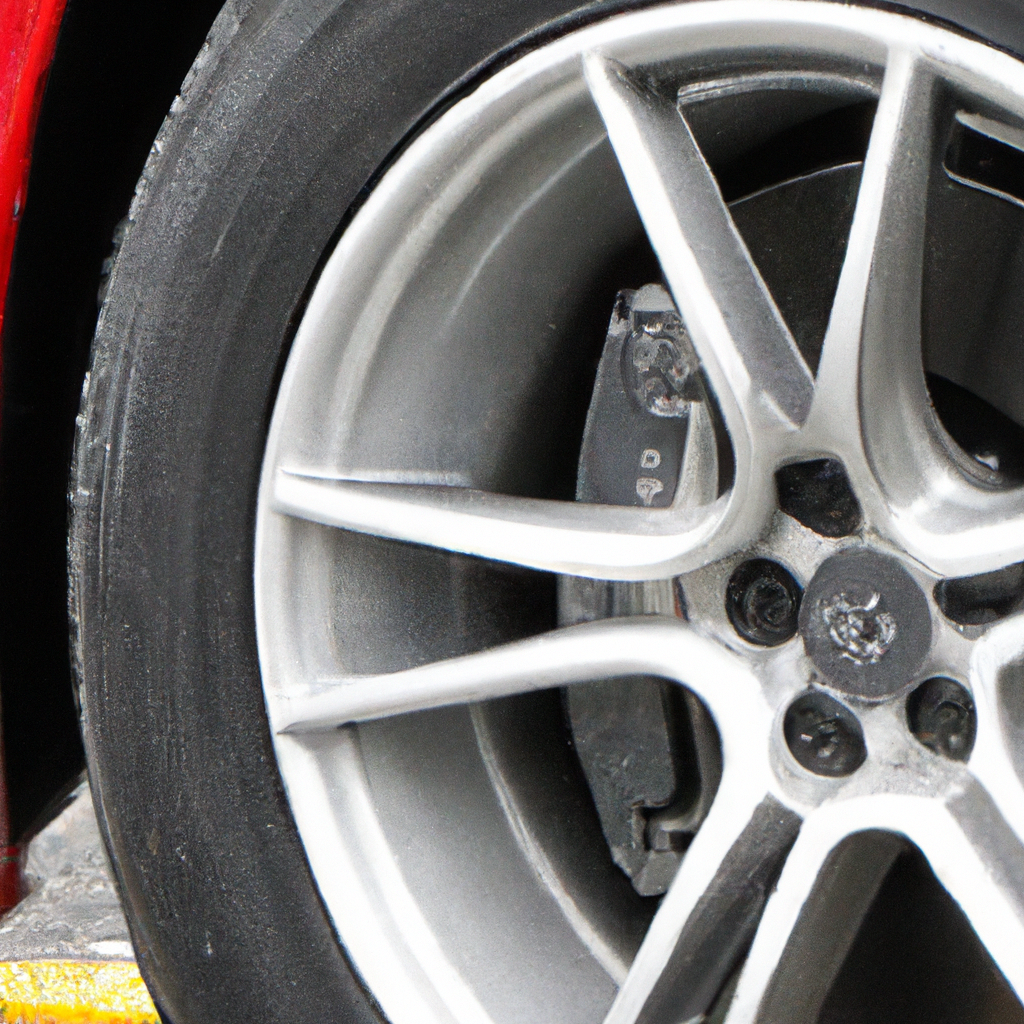
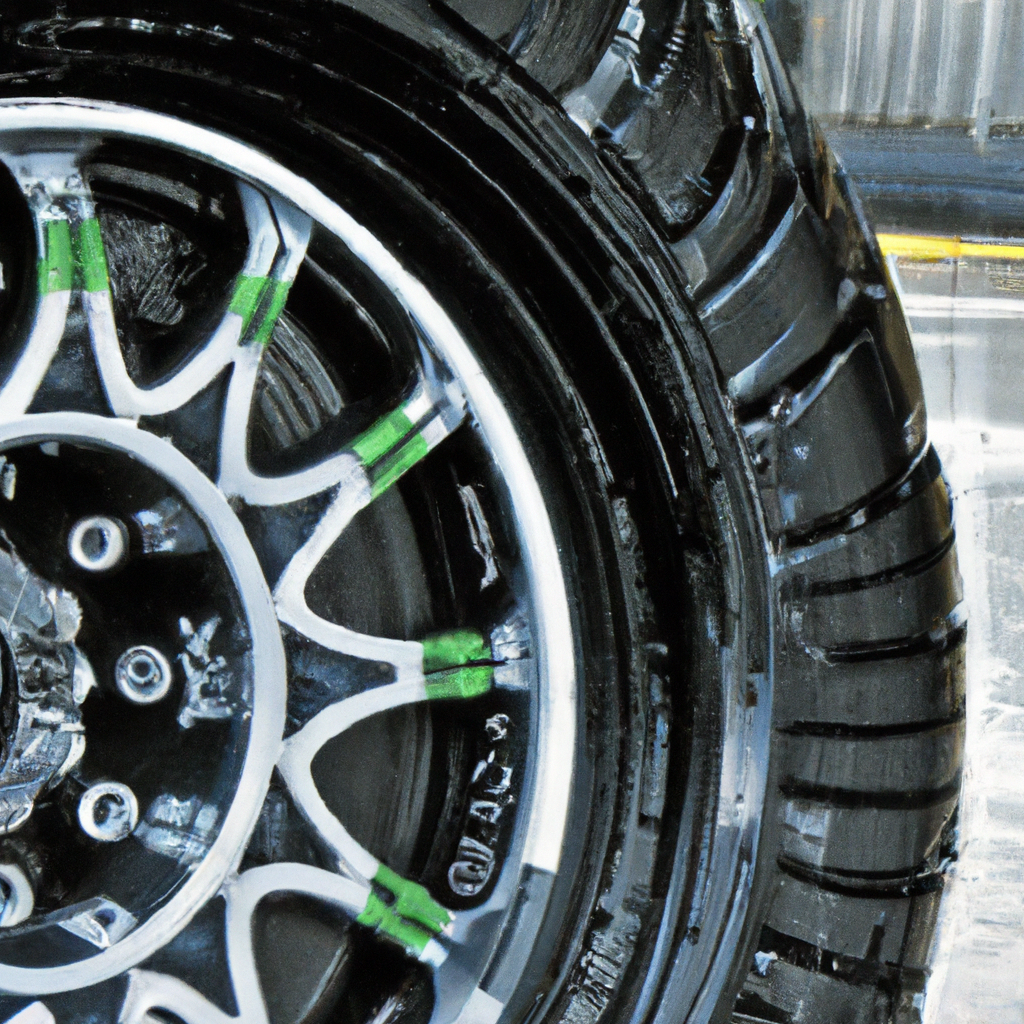
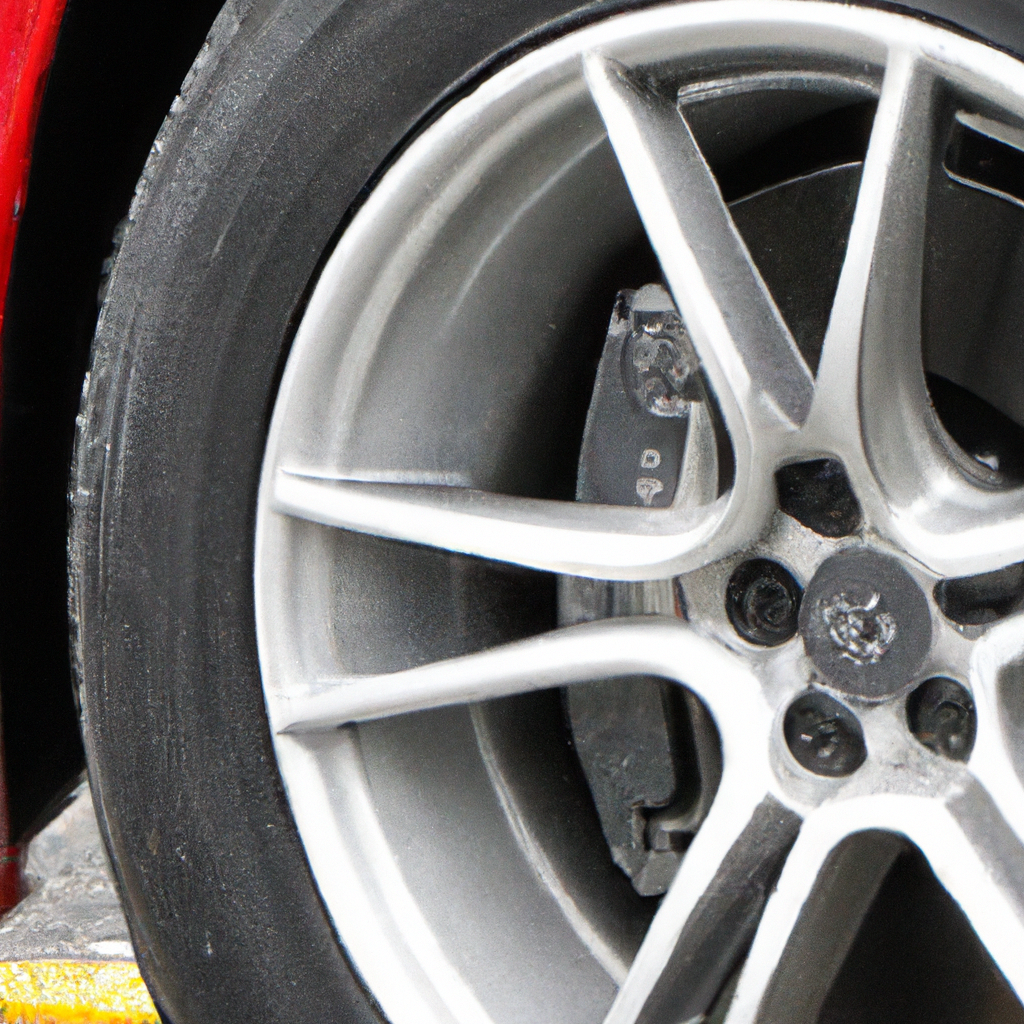
Protecting your wheels is essential for maintaining their appearance and prolonging their lifespan. But how exactly do you apply a wheel protectant? This article will guide you through the step-by-step process, ensuring that your wheels stay protected and looking their best. From cleaning and preparing the surface to applying the protectant and ensuring proper coverage, you’ll find all the information you need to effectively protect your wheels. So, grab your wheel protectant and get ready to give your wheels the TLC they deserve!
Preparation
Before you start applying a wheel protectant, it’s important to make sure you have all the necessary materials. Gather materials such as a wheel cleaner, microfiber towels or brushes, a wheel protectant product, and a bucket of water. Having everything within reach will make the process much smoother.
Once you have all your materials ready, begin by cleaning the wheels. Start by rinsing them with water to remove any loose dirt or debris. Then, apply a wheel cleaner specifically designed for your type of wheels. Use a brush or a microfiber towel to scrub the wheels, paying attention to all the nooks and crannies. This will help remove any stubborn grime or brake dust.
After cleaning the wheels, it’s important to dry them thoroughly. This is especially important for preventing water spots or streaks from forming on the wheels. Use a clean microfiber towel to dry each wheel, making sure to reach all the tight spaces. Take your time during this step to ensure the wheels are completely dry before moving on to the next stage.

Application
Now that the wheels are clean and dry, it’s time to apply the wheel protectant. Choose a high-quality wheel protectant product that is suitable for your type of wheels. It’s essential to read the manufacturer’s instructions and follow them carefully for best results.
Start by applying the wheel protectant product to a clean microfiber applicator. Apply a small amount of the protectant onto the wheel’s surface, spreading it evenly in circular motions. Be sure to cover the entire wheel and pay attention to any intricate details or spokes. The protectant will help create a barrier between the wheel and external elements, preventing damage and making future cleaning easier.
After applying the protectant, let it sit for the recommended amount of time. This will vary depending on the product you are using, so be sure to check the instructions. Allowing the protectant to sit will give it time to bond with the wheel’s surface and provide optimal protection.
Once the recommended time has passed, repeat the process on all the wheels. Apply the protectant, spread it evenly, and let it sit. This will ensure that each wheel receives the same level of protection and enhances the overall appearance of your vehicle.

Buffing
After the protectant has had sufficient time to sit, it’s time to inspect the wheels and buff them for a shiny finish. Take a close look at each wheel, checking for any missed spots or areas where the protectant may have dried unevenly. If necessary, apply a small amount of protectant to a clean microfiber towel and carefully touch up those areas.
Next, use a separate clean microfiber cloth or wheel buffing tool to buff the wheels. Buffing will remove any excess protectant and help bring out the natural shine of the wheels. Be gentle yet thorough, ensuring that all sections of the wheel receive equal attention. Take your time during this step to achieve the desired shine and finish.

Maintenance
Proper maintenance is key to keeping your wheels protected and in top condition. Regular cleaning is essential to prevent dirt, grime, or brake dust build-up. It’s recommended to clean your wheels at least once a week or as needed, depending on your driving conditions.
When cleaning your wheels, use a mild wheel cleaner and a microfiber towel or soft brush. Avoid using harsh chemicals or abrasive tools as they can damage the protective layer created by the wheel protectant. Gently scrub the wheels, paying close attention to any stubborn areas, and rinse thoroughly with water.
In addition to regular cleaning, it’s important to reapply the wheel protectant periodically. Over time, the protective layer may wear off due to exposure to the elements and regular driving. Check the manufacturer’s instructions for recommended intervals and apply the wheel protectant accordingly. This will ensure that your wheels continue to be protected from harmful elements and maintain their shine for longer.

Tips and Tricks
To make the process of applying a wheel protectant even more effective and enjoyable, here are some valuable tips and tricks:
-
Use gloves: Protect your hands from any harsh chemicals or potential skin irritation by wearing gloves during the application and cleaning process.
-
Apply in shade: It’s best to apply the wheel protectant in a shaded area, away from direct sunlight. This will prevent the product from drying too quickly and ensure an even application.
-
Avoid over-applying: While it may be tempting to apply a thick layer of protectant, it’s important to follow the manufacturer’s instructions and use the recommended amount. Over-applying can lead to product build-up and may not result in better protection.
-
Follow manufacturer’s instructions: Each wheel protectant product may have specific instructions for application, drying time, and maintenance. It’s essential to read and follow these instructions for optimal results and to avoid any potential damage.
By following these steps, you can effectively apply a wheel protectant and provide your wheels with the protection they need against dirt, grime, and other environmental factors. Regular maintenance and proper application techniques will not only enhance the appearance of your wheels but also prolong their lifespan. So gather your materials, clean and dry your wheels, apply the protectant with care, buff them to perfection, and enjoy the long-lasting shine and protection it provides!


