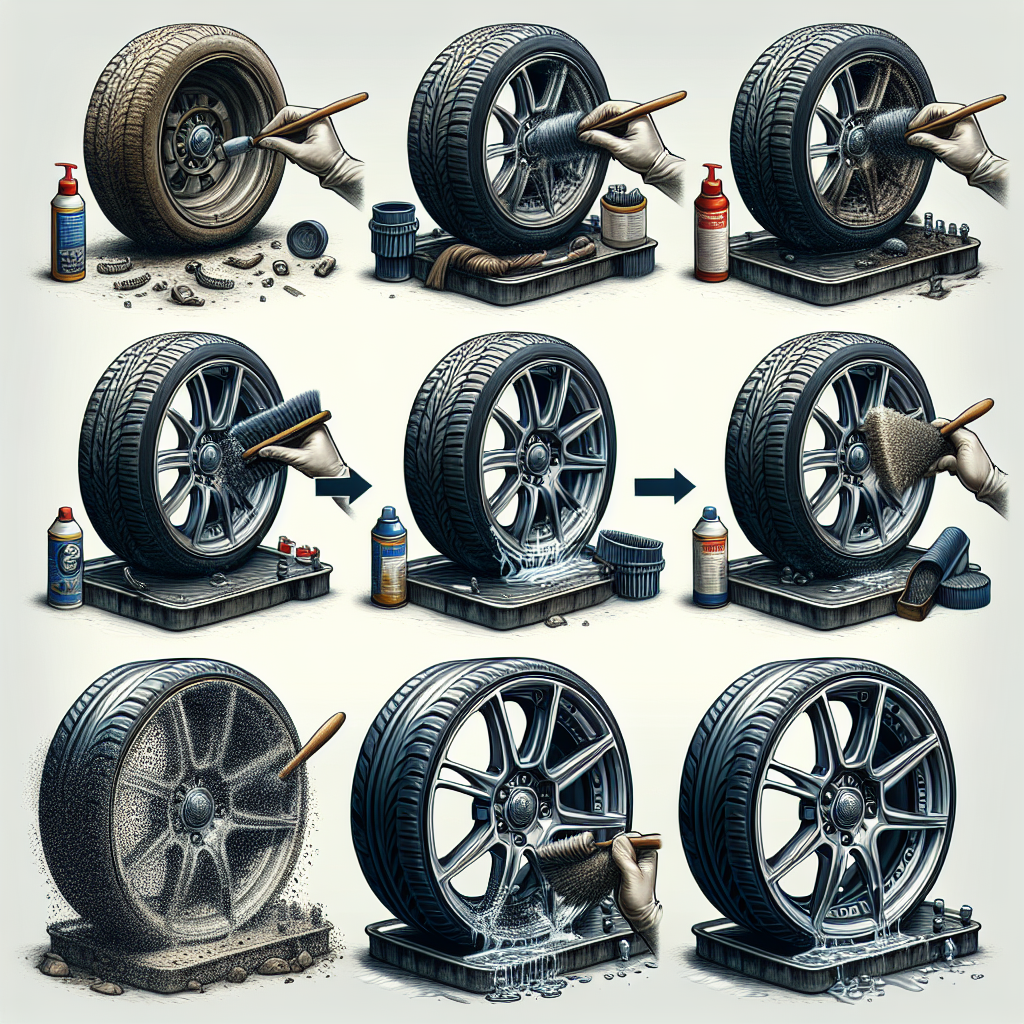
If you’ve ever wondered how to tackle the task of cleaning those hard-to-reach areas around your wheels’ lug nuts, look no further. We understand that it can be quite challenging to get rid of all the dirt, grime, and brake dust that accumulate in those intricate spaces. But fear not, because we’ve got you covered! In this article, we will provide you with some easy and effective tips on how to clean your wheels, specifically focusing on those pesky lug nut areas. So get ready to give your wheels a sparkling new look and level up your car’s appearance! Cleaning wheels with intricate lug nut areas requires careful attention to detail and the use of the right tools and materials. Follow these steps to effectively clean your wheels, remove brake dust, and maintain their appearance over time.

Preparation
Before you begin cleaning your wheels, gather all the necessary materials. You will need a bucket, wheel cleaner, degreaser, brake dust cleaner, a soft brush, microfiber cloth, compressed air, and optionally, wheel wax or sealant, lug nut cleaning tools, and tire shine. It is also essential to park your vehicle in a suitable location, preferably on a flat surface away from direct sunlight or extreme temperatures.
Once you have gathered the materials and parked your vehicle, ensure that you secure it properly by engaging the parking brake and placing wheel chocks behind the wheels. This step ensures safety and prevents any unwanted movements while you clean.
If your wheels have hubcaps, you should remove them before starting the cleaning process. Hubcaps can trap dirt and make it challenging to clean the lug nut areas thoroughly. Carefully remove them using the appropriate tools, if necessary.
Basic Cleaning
To begin, rinse the wheels with water to remove any loose dirt or debris. This initial rinse helps to loosen and remove the surface-level grime, making the cleaning process more effective.
Next, apply wheel cleaner to each wheel, making sure to cover all areas, including the lug nut areas. Allow the cleaner to sit for a few minutes, as it helps to break down any stubborn dirt or grime.
Using a soft brush, gently scrub the wheels in circular motions, paying special attention to the intricate lug nut areas. Ensure that you reach into all the nooks and crannies, as these areas can accumulate dirt and brake dust over time.
Deep Cleaning
For wheels with intricate lug nut areas, it is essential to use a lug nut brush specifically designed for this purpose. These brushes have bristles that can reach into the tight spaces and effectively clean the lug nuts.
Apply a degreaser to the lug nut areas and use the lug nut brush to scrub them thoroughly. The degreaser helps to loosen any built-up grime and brake dust, making it easier to remove.
Repeat the process of applying the degreaser and scrubbing the lug nut areas as necessary until they are thoroughly clean. This step ensures that all the nooks and crannies are free from dirt and brake dust, restoring the wheels’ original shine.
Removing Brake Dust
Brake dust buildup is a common issue on wheels, especially in areas with frequent braking. To remove brake dust, first, identify the areas with the most buildup. Brake dust is typically dark in color and accumulates around the lug nuts, spokes, and brake calipers.
Spray a specialized brake dust cleaner onto the affected areas, ensuring that you cover the brake dust buildup entirely. Allow the cleaner to penetrate the brake dust for a few minutes to break it down effectively.
Gently scrub away the brake dust using a soft brush. Be cautious not to scrub too vigorously, as this can potentially damage the wheels’ finish. Continue scrubbing until all the brake dust has been removed, and the wheels are clean and shiny.

Cleaning Tools
When cleaning wheels with intricate lug nut areas, it is essential to select the appropriate brushes and tools. Consider using brushes with soft bristles that can reach into tight spaces and effectively remove dirt without scratching the wheels.
Additionally, there are lug nut cleaning tools available on the market that can make the cleaning process easier and more efficient. These tools are specially designed to clean lug nuts and the surrounding areas effectively. Invest in these tools if you frequently encounter dirt buildup in intricate lug nut areas.
A lug nut brush is another valuable tool to have when cleaning wheels with intricate lug nut areas. This brush is specifically designed to reach into the tight spaces around the lug nuts and scrub away any dirt or brake dust. Its bristles are soft enough not to cause any damage to the wheels’ finish while still being effective at removing grime.
Avoiding Damage
To preserve the appearance of your wheels and prevent any damage, it is crucial to avoid using abrasive materials during the cleaning process. Avoid scrubbing with harsh brushes or abrasive sponges, as they can scratch or etch the wheels’ surface.
Similarly, it is essential to avoid using harsh chemicals that may corrode or damage the wheels’ finish. Stick to specialized wheel cleaners, degreasers, and brake dust cleaners that are safe for use on wheels. Always read the product labels and follow the manufacturer’s instructions to ensure proper usage.
While scrubbing the lug nuts, prevent excessive force or vigorous scrubbing. Instead, be gentle and patient, allowing the cleaning agents and brushes to do their job. Applying excessive pressure or scrubbing too hard can potentially damage the lug nuts or the surrounding areas.

Drying the Wheels
After thoroughly cleaning the wheels, it is crucial to dry them properly to prevent water spots and premature rusting. Start by patting dry the wheels using a clean microfiber cloth. Microfiber is absorbent and gentle on the wheels’ finish, preventing any potential scratches.
Next, use compressed air to remove any remaining water from the lug nut areas and other hard-to-reach places. The air effectively blows away the water droplets, allowing for a more thorough drying process.
Allow the wheels to air dry completely before reinstallation. This step ensures that no moisture is left behind, reducing the risk of water spots or rust formation. While the wheels are drying, wipe the lug nut areas carefully with a dry microfiber cloth to remove any excess water.
Finishing Touches
To give your wheels a polished look and added protection, apply a wheel wax or sealant. Wheel wax or sealant creates a protective layer that helps to repel dirt, brake dust, and other contaminants, making future cleaning easier. Follow the manufacturer’s instructions for application, ensuring a thorough and even coat.
Once the wax or sealant has dried, buff the wheels using a clean microfiber cloth. Buffing helps to remove any excess wax or sealant and enhances the shine of the wheels, making them look brand new.
For added aesthetics, consider applying tire shine to your tires. Tire shine not only enhances the appearance of your tires but also provides protection against UV rays and prevents premature cracking or fading.
If your wheels have hubcaps, it’s time to reinstall them now. Carefully align the hubcaps and snap them back into place, ensuring a secure fit. This step not only improves the overall appearance of your wheels but also prevents dust and debris from accumulating in the lug nut areas.

Regular Maintenance
To keep your wheels looking their best, it is essential to clean them periodically. Regular cleaning helps to prevent the buildup of dirt, brake dust, and contaminants, maintaining their shine and condition.
Inspect your wheels for any signs of corrosion or damage during the cleaning process. If you notice any issues, address them promptly to prevent further damage. Corrosion can spread and compromise the integrity of the wheels, leading to costly repairs or replacements.
Reapply wheel wax or sealant periodically to maintain the protective layer and preserve the wheels’ shine. The frequency of reapplication may vary depending on factors such as climate, driving conditions, and the quality of the wax or sealant used. Follow the manufacturer’s recommendations for the best results.
Lastly, keep the lug nut areas free from debris between cleaning sessions. Regularly check and remove any dirt, leaves, or other particles that may accumulate in these areas. This practice helps to maintain the cleanliness and functionality of the lug nuts, preventing potential issues in the future.
Safety Precautions
When cleaning your wheels, it is vital to prioritize safety and take necessary precautions. Avoid cleaning hot wheels, as the rapid temperature change from spraying cold water can potentially damage the wheels’ finish or even cause them to crack.
To protect your hands from chemicals and potential injury, use gloves during the cleaning process. Gloves provide a barrier between your skin and the cleaning agents, preventing any potential irritation or harm.
Work in a well-ventilated area to avoid inhaling any fumes or chemical vapors. Cleaning agents often emit strong odors, so ensure there is proper air circulation to minimize exposure.
Finally, always follow the manufacturer’s instructions on the cleaning products you use. Each product may have specific usage instructions and safety guidelines that should be followed to ensure proper and effective cleaning.
By following these steps and precautions, you can effectively clean your wheels with intricate lug nut areas, maintain their appearance, and prolong their lifespan. Regular maintenance and care will keep your wheels looking their best, enhancing the overall aesthetic of your vehicle.


